Showing posts with label flowers. Show all posts

Wednesday, January 19, 2011

Recap: Our Tablescapes

   In the beginning, I planned to have quaint little teacups on the tables with blooms and herbs. I wanted people to be able to snip fresh herbs right off the table and season their dinner with them. And then take the teacups home with them. Well, that was ambitious!
   I ended up collecting white ceramic teapots, carafes, and creamer and sugar containers and filled them with flowers and eucalyptus. It was fun collecting the white ceramic pieces, which I got from Ross and a thrift store. I think I spent about $35 on them. The birdies sit in our kitchen and we use the pots & carafes now for our coffee & tea. Plus, some are stashed away for either sweet housewarming gifts or the next table design project. Go Ross!
   The flowers came from the Fresh Market. I literally went there that morning to pick them out. Our good friend accompanied me and lent me his discount (the home office is here), so I spent less than $50 on them.  They were super fresh and lasted about two weeks. Here I am putting them together:
photo courtesy of Lindsay Salet
On the table, Photo by Nick Sanders
Had extra for the cake, Nick Sanders

2 weeks later!
And above is another idea I had that never panned out. I bout these branchy lights from T.J.Maxx but forgot to use them on the day of.  I definitely recommend hiring someone who can help you remember these things! I did place the candles, however, on the tables, along with the paper flowers. Candles were $6 for 12 @ Big Lots.
I love bargain shopping! So if anyone has the need for these lighted branches, I have 4 and a little assortment of white ceramic serveware.

Friday, October 22, 2010

TWO WEEKS! Happenings & Non-happenings

Two weeks from today I will be eating, drinking, and dancing with my family and friends!

I am so excited.

We have finalized most things, made most projects, and may be under budget.

Shawn has been serenading me like crazy lately. I cannot wait to stand in front of my man while he serenades ALL OF US (He's practicing right now).
Shawn in action. You'll see it soon...

In prep for our house guests, we bought a few new pieces, cleaned house and removed hundred's of small Bully balls from every corner. I swear I swept out a pomeranian from under the couch.


There are some things, that won't be happening, like, the cake toppers I wanted to paint. I'm not a painter and that project was a little out of my league.  I didn't grow the chinese lanterns and herbs for our table scapes like I thought I could. I was going to collect vintage and new  teacups for the tables, but that didn't happen. I'm still kinda nervous about decorations. Some friends and family can't make it. There are even those i haven't even heard from? My daddy won't be there.....

   but I have a feeling that the most important people are going to be there, and everything will look awesome. And Shawn and I will awe our guests. Everyone that I love in the same room, I know that will feel complete.

I'm leaving you with one pretty flower I managed to grow . A pretty dahlia. If its still around in 2 weeks, maybe I'll stick it on my table.

Monday, September 27, 2010

An easy, economical, fun, DIY project that's pretty, too

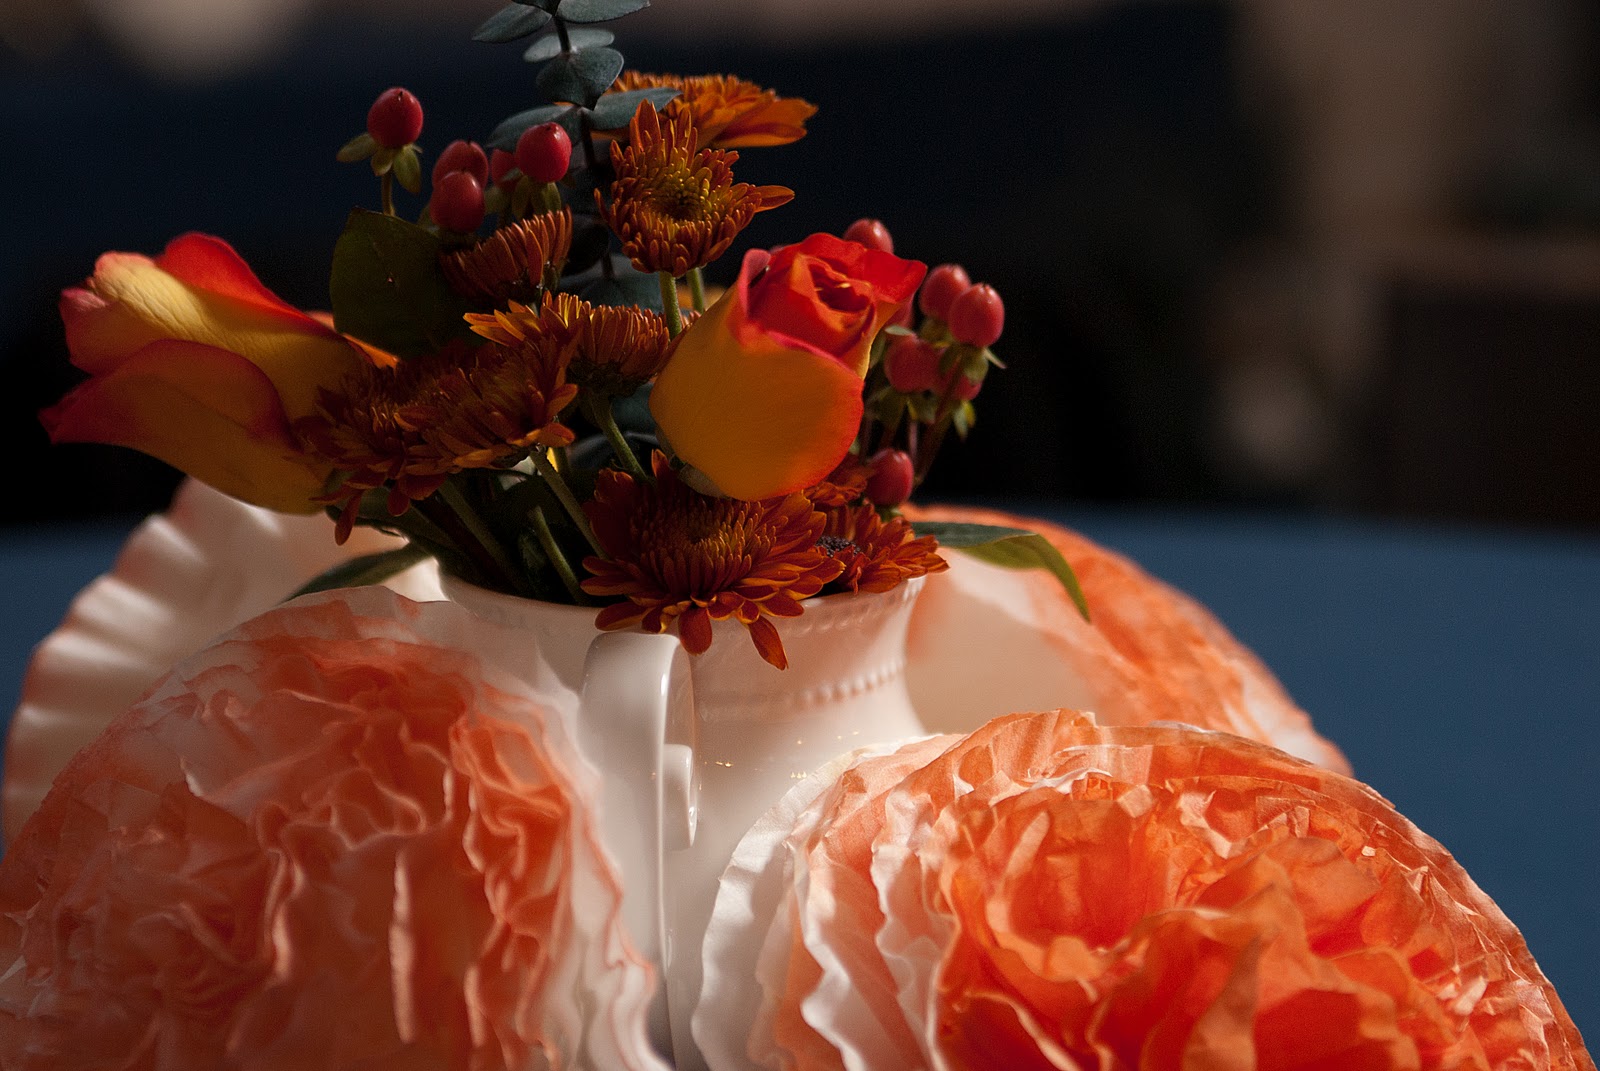
Last week I crafted. A lot.  I made over twenty of these orange flowers, and I still may make more.
 They are super easy to make.  The secret ingredient?


 Coffee Filters!
 So here's how I made them:

Materials:
  • 1 or 2 packs of coffee filters
  • sewing needle
  • thread
  • little puffy balls for the craft store, maybe cotton balls would work
  • Rit tangerine dye
  • Bucket
  •  
     
    • I started with several coffee filters. The less you use you will get a carnation effect, the more, sort of a weathered azalea. I'd probably use about 12 or so for each flower.
    • Thread the needle, loop it around a fuzzy craft ball a few times to make it secure,
    • Push the needle through the filters' open side, separating each layer
    • When you have your desired flower size, fasten with a fuzzy ball on the filters' flat ends, looping to secure.
    The first ones might be a little funky until you make more,  as you decide how you like them.

    Coloring them:
    • You can use spray paint or a dyebath. I was already dying other things orange, so I used the dye
    For a solid color flower, dunk.  Then hang to dry. This is there those little white balls come in handy , with the dunking and the hanging. For a creamsicle like effect I dunked a couple sides,  leaving some white. I twisted the layers when dry. For color on the petal edges, I dipped a foam brush in the dye and brushed the flower with it. They're very absorbent, but tough and not a one ripped.

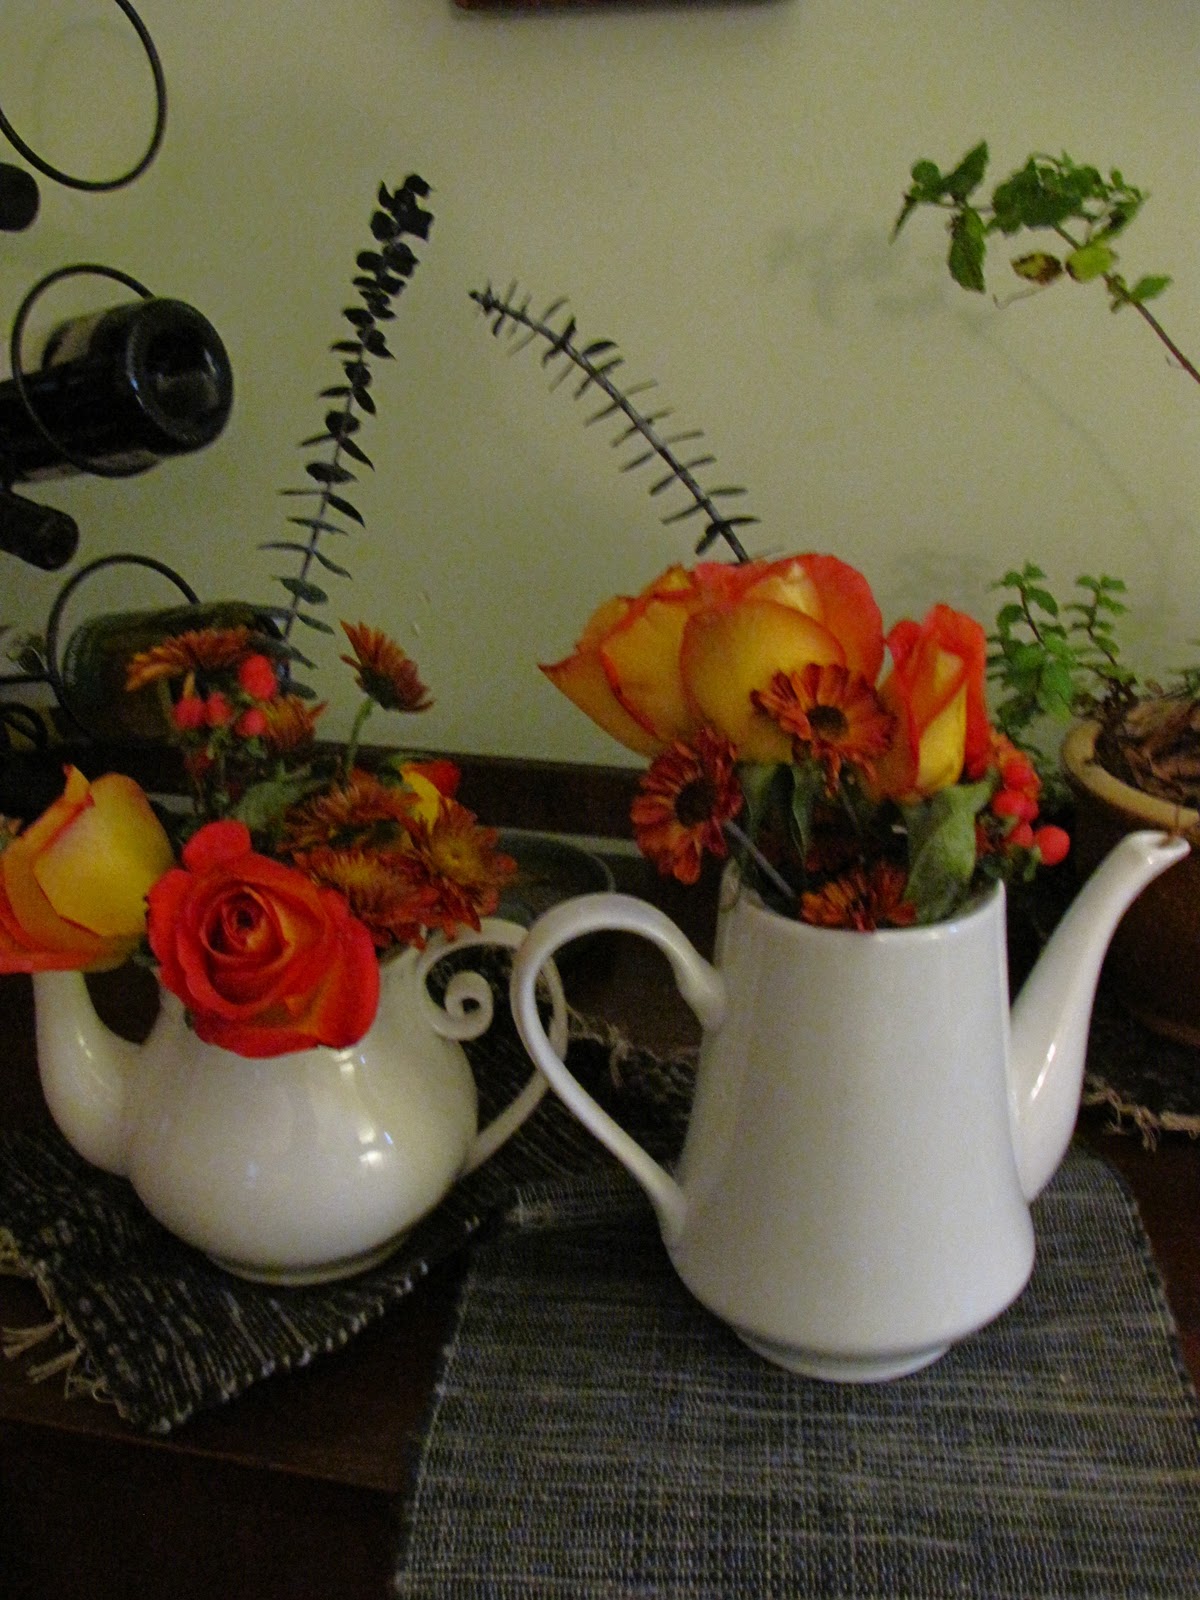
    The one on the left is solid, and the middle one is merely kissed with color.

    They remind me of the Mobile Azalea Trail Maids:

    I used to watch these ladies every fourth of July parade in downtown Atl, spinning and twirling those parasols. They must have been sweating their petals off.
     So what to do with these after November?

    a mass piling on a shelf?

    or littering the mantel?

    feel free to take 'em home with you.